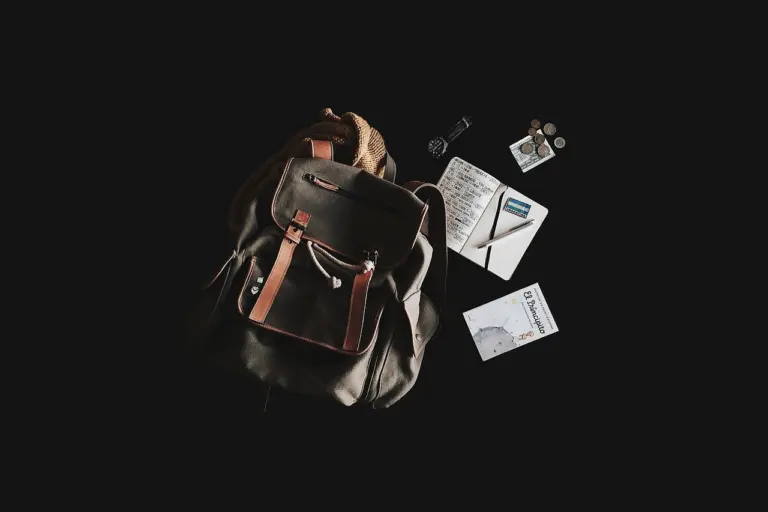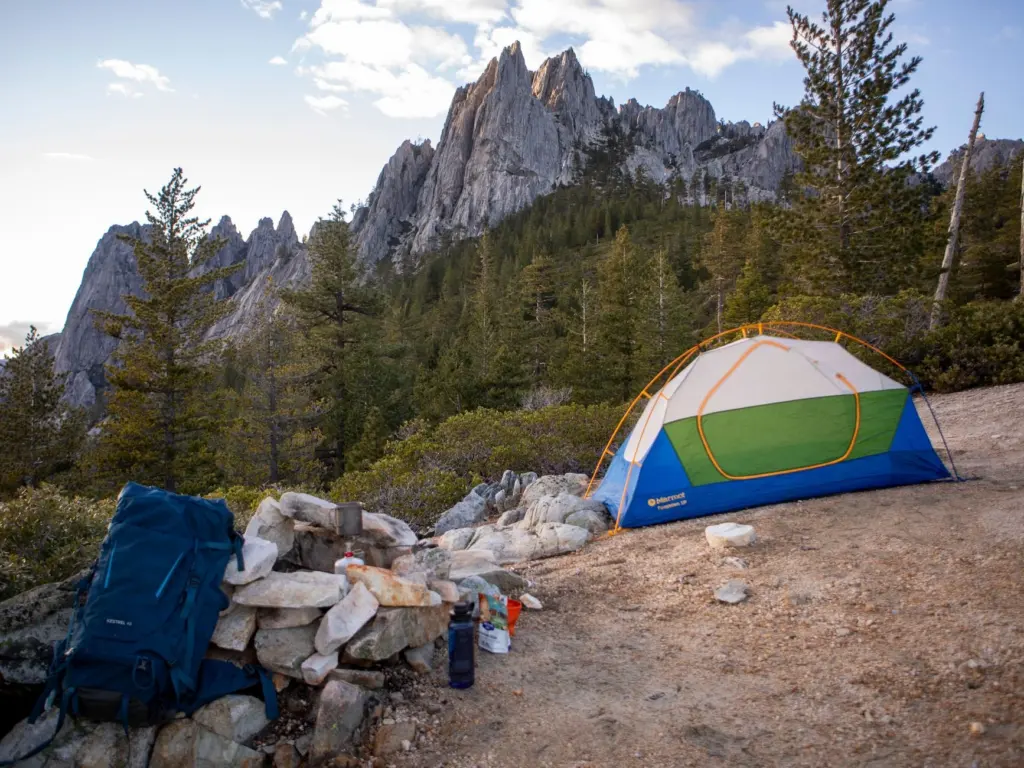
Heading out with a daypack and a cotton hoodie? This overnight backpacking checklist swaps them for a frame pack with a hip belt, a sleeping bag rated to the night’s low, treated water and a first aid kit.
Packing is only one part of the job, so use this list alongside our guide on how to plan an adventure trip. The sections below take the most common packing misunderstandings in turn and say what to carry instead.
Start with the systems, not the gadgets
An overnight pack divides into a handful of systems: the pack itself, shelter and sleep gear, water and food, clothing, and safety items. A few of them carry most of the weight. According to a backcountry camping checklist, the Big Four gear systems account for roughly 70% of total pack weight. Trimming a small extra saves little. Choosing the big items well decides how the pack feels, and the table shows where hikers most often go wrong.
| Common assumption | What works better | Planning use |
|---|---|---|
| Any daypack or travel bag will do | Urban travel backpacks (laptop bags, daypacks, airport carry-ons) cannot substitute for a dedicated backpacking pack, because they have no hip belt or frame system for trail loads. A hip belt is non-negotiable for loads over 20 lbs. | Use a dedicated backpacking pack. For an overnight or ultralight setup, 30–50 L is the stated size range. |
| The sleeping bag’s average-temperature rating is enough | The temperature rating must match the overnight low, not the average. | Check the forecast low for the campsite and choose the bag against that figure. |
| A warm bag makes the pad optional | Target R-2 for summer trips above 40°F. Move to R-4 or higher for shoulder season, high elevations or cold ground. | Pick the pad’s R-value for the coldest ground you expect, not for a typical afternoon. |
| One water filter is all the treatment needed | Carry a primary filter plus a chemical tablet backup. | Add backup tablets to the kit so one failed filter does not end the trip. |
The figures and rules above come from the same backcountry camping checklist.
Pack size and weight targets
A bigger pack is not a safer pack, because spare volume gets filled and carried. The same backcountry checklist puts 30-50L at overnight or ultralight setups and 50-65L at 3-5 day trips. A packing list on Luontoon.fi gives a wider 50–100 litres for an overnight pack and adds a rain cover, so treat 30-50L as the lightweight end of the range rather than a rule.
Weight targets are easier to judge by system than by a single total. The checklist gives these combined figures for the Big Four:
- Standard: 15–22 lbs combined. This suits hikers using familiar, comfortable gear who do not want to buy new equipment.
- Lightweight: 8–14 lbs combined. This is the sensible aim for a lightweight-first list, because it trims the heaviest items without giving up safety gear.
- Ultralight: under 8 lbs combined. This is an option for experienced hikers, not a requirement for a good overnight trip.
These bands describe the Big Four, not the whole loaded pack, so food, water and clothing add to them. The payoff for lighter choices can be large: Cleverhiker’s backpacking checklist says a lightweight Big Three can easily cut 10 or more pounds. Save weight there first and leave the safety items alone.
Sleep system and shelter
The core shelter and sleep kit is a tent, a sleeping bag and a sleeping pad, as listed in the backcountry camping checklist. The Luontoon.fi overnight list asks for a bag rated for three seasons or summer, which fits the idea that the bag follows the season rather than the cheapest option.
Weight is the main reason to look beyond a standard tent and bag. The same checklist cites the Zpacks Duplex at 17.9 oz as an ultralight shelter example, and says a quilt saves 10–15 oz versus an equivalent sleeping bag. Those swaps suit hikers who already own reliable gear for cold nights and want a lighter carry. Whichever sleeping layer you choose, the pad rule in the table still applies, and a cold floor is a poor trade for a few saved ounces.
Water, food and the camp kitchen
Carrying every drop you will need is a common misunderstanding. Water is heavy, and She Explores notes that you cannot carry all you need for a multi-day trip. Treatment on the route replaces carried volume. Cleverhiker suggests 2–4 water bottles with the ability to carry 2–6 liters depending on climate, plus a pre-filter such as pantyhose in front of the main treatment.
That makes the water filter one of the most valuable items in the pack. Pair it with the tablet backup from the table so the water plan still works if the filter fails.
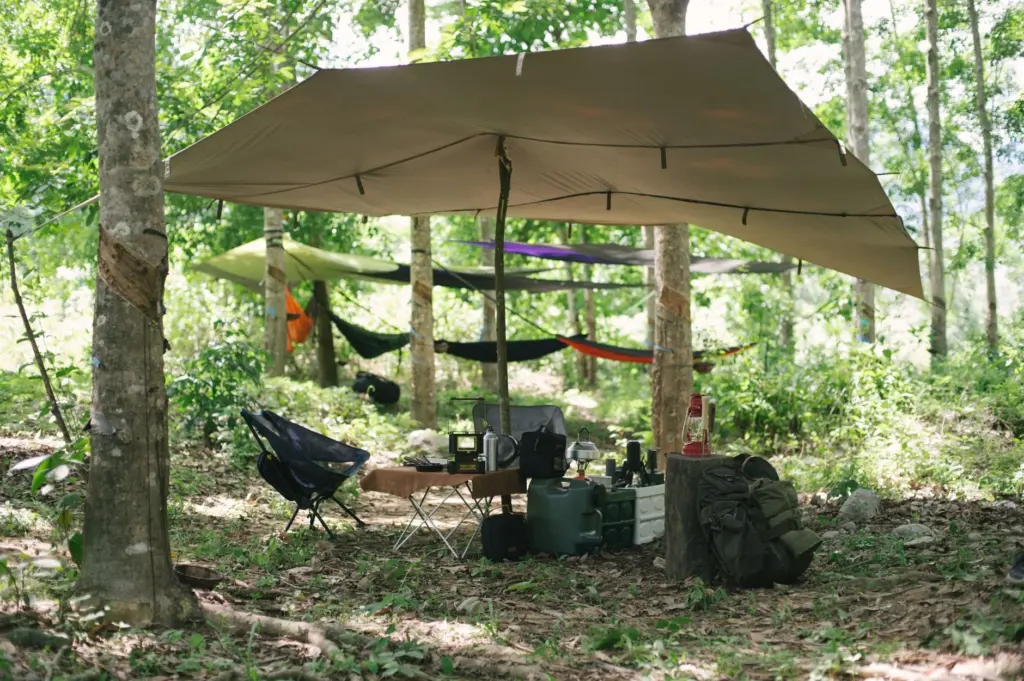
For cooking, keep the kit simple: a stove, fuel and a way to light it. Fire gear sits with the safety items below because the same backups serve both jobs. Daily food quantities are covered in the FAQ.
Clothing fabrics
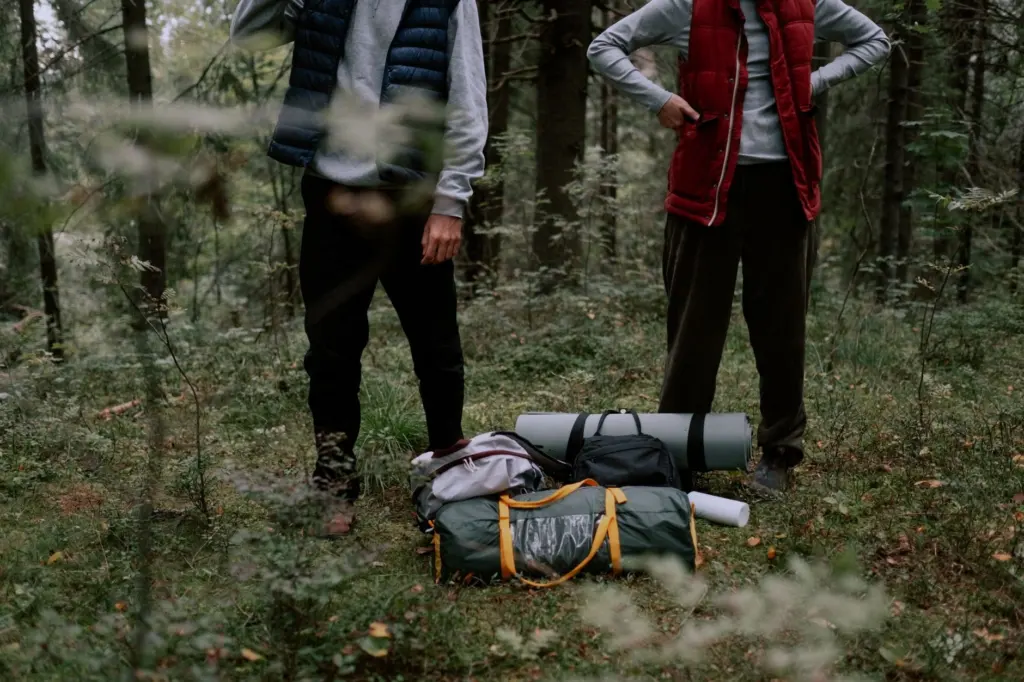
Cotton is the usual clothing mistake. Cleverhiker’s checklist advises avoiding it because it absorbs moisture and takes a long time to dry. Choose quick-drying synthetic or wool pieces instead. Wet clothing is a comfort problem on a mild night and a safety problem on a cold one, so fabric choice belongs with the safety planning rather than the comfort extras.
Safety items worth the weight
Safety gear is the last thing to cut when the pack feels heavy. The backcountry checklist lists first aid and emergency gear among its core items, and the pieces below cost little to carry.
- First aid kit: The Luontoon.fi overnight list includes a triangular bandage, sterile pads and bandage, an elastic bandage, assorted plasters and blister plasters. Add personal medication to whatever you carry.
- Fire starting: Luontoon.fi suggests matches or a lighter in a waterproof bag, plus a knife. The backcountry checklist adds a lighter kept separate from the stove’s built-in igniter, and Cleverhiker lists stormproof matches and small fire starters.
- Trip itinerary: Cleverhiker suggests two copies, one left with a friend and one under the car seat, so someone knows the route if you do not return on time.
Each item is small, and together they cover injury, failed fire starting and a missed return. That coverage matters more than the few grams saved by leaving them behind.
Final check before you leave
Lay everything out by system and ask whether each heavy item is the lightest version you trust, then confirm the safety items are still in. If the route climbs high, the pad rating above matters and so does knowing the warning signs covered in What Is Altitude Sickness? How To Recognize, Prevent, And Treat It.
Hiking trips that sit inside a longer wildlife placement abroad raise different questions about choosing a program and staying safe, which Volunteer Abroad With Wildlife: How To Choose The Right Program, Stay Safe, And Make Real Impact In 2026 covers. More packing and preparation guides sit in the Travel Planning section.
Frequently asked questions
| Question | Answer |
|---|---|
| How many calories should I pack each day? | Cleverhiker’s checklist says provisions are commonly between 2,500 and 3,500 calories per day, so plan food on that scale rather than on trail snacks alone. See the Cleverhiker checklist. |
| How long does a stove fuel canister last? | The backcountry checklist estimates that about half a canister, 50 g, lasts 3–5 days for two people boiling water. An overnight trip for a pair of hikers sits well inside that estimate. See the backcountry camping checklist. |
| Do I need bear spray? | Cleverhiker lists bear spray as an optional item for grizzly country, so it applies only on routes in that kind of terrain. |
| Can I light a campfire? | Check fire restrictions before the trip on USFS InciWeb and with the local ranger station, as the backcountry camping checklist advises. |